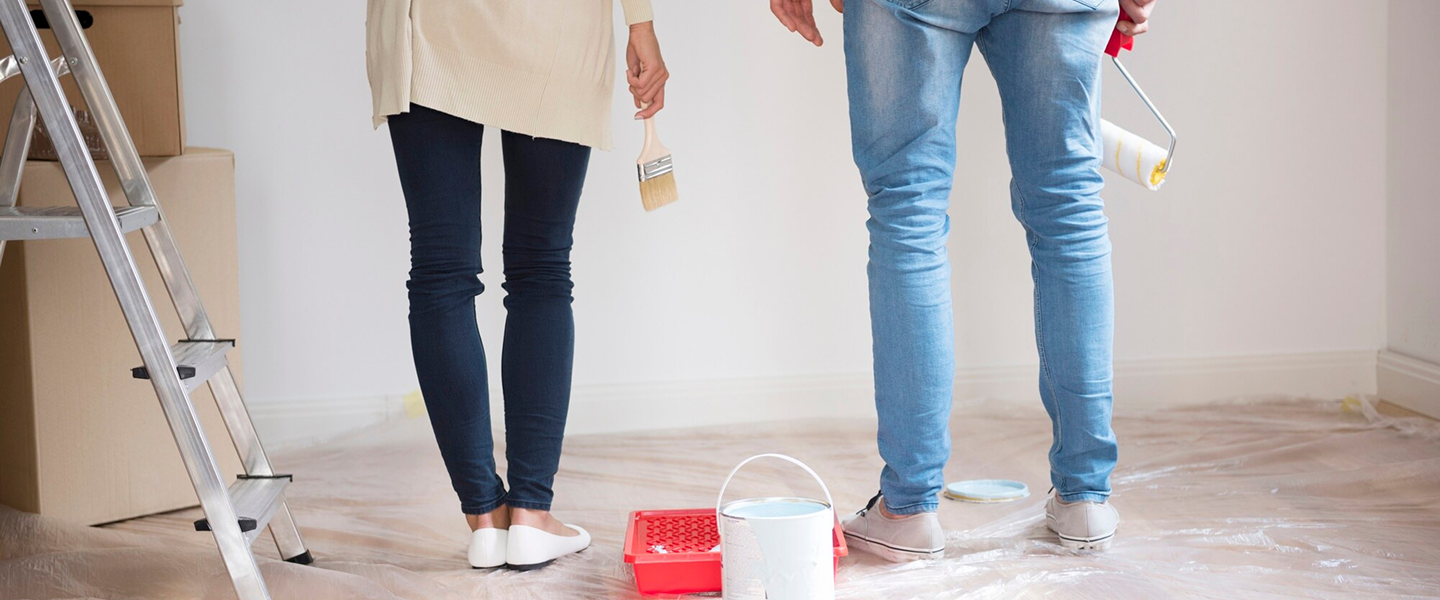
When it comes to giving your home a fresh, new look, nothing beats a quality paint job. However, before you dive into painting, it’s crucial to focus on surface preparation. Proper preparation ensures that your paint adheres well and lasts longer, providing a flawless finish. Whether you’re tackling interior walls or seeking the expertise of Southport painters on the Gold Coast, understanding surface preparation is key.
In this guide, we’ll walk you through the essential steps and methods for effective surface preparation, ensuring your painting project is a success
Surface preparation is the foundation of any successful painting project. It involves cleaning, repairing, and priming the surface to ensure optimal paint adhesion. Skipping this step can lead to peeling, cracking, or uneven finishes. Thus, dedicating time and effort to surface preparation will save you from unnecessary headaches down the road.
Sed egestas, ante et vulputate volutpat
Why Surface Preparation Matters
- Adhesion: Proper surface preparation creates a clean and stable base for the paint, improving adhesion and reducing the risk of paint failure.
- Durability: By removing dirt, grease, and old paint, you ensure that the new paint adheres well, leading to a more durable finish.
- Aesthetics: A well-prepared surface results in a smooth, even finish, enhancing the overall appearance of your space.
- Cost-Effectiveness: Proper preparation reduces the need for frequent repaints, saving you time and money in the long run
Sed egestas, ante et vulputate volutpat
Essential Surface Preparation Steps
1. Cleaning the Surface
Start by cleaning the surface to remove any dirt, dust, or grease. Use a mild detergent mixed with water and a sponge or cloth to wipe down the walls. For stubborn stains, a mixture of water and vinegar can be effective. Rinse the surface thoroughly and allow it to dry completely before moving on to the next step.
2. Cleaning the Surface
Inspect the surface for any cracks, holes, or imperfections. Use a quality filler or spackle to repair these areas. Apply the filler with a putty knife, smoothing it out to ensure it blends with the surrounding surface. Once dry, sand the area lightly to achieve a smooth finish.
3. Sanding for a Smooth Finish
Sanding is a crucial step in surface preparation. It helps to smooth out any rough patches and ensures better paint adhesion. Use a fine-grit sandpaper and gently sand the entire surface. Be sure to sand in the direction of the grain to avoid scratches. After sanding, wipe the surface with a damp cloth to remove any dust.
4. Priming the Surface
Priming is an essential step, especially for surfaces with stains or those that are porous. A good quality primer will seal the surface, providing a uniform base for the paint. Choose a primer that suits the type of paint you plan to use. Apply the primer evenly using a brush or roller, and allow it to dry completely.
Sed egestas, ante et vulputate volutpat
Interior Painting Tips for a Flawless Finish
Choosing the Right Paint
Selecting the right paint is crucial for achieving the desired finish. Consider factors such as the room’s lighting, existing decor, and the type of surface you’re painting. For interior walls, a water-based latex paint is often recommended for its ease of use and durability.
Using Quality Tools
Investing in quality brushes and rollers can make a significant difference in the outcome of your painting project. A high-quality brush provides better control and coverage, while a good roller ensures a smooth, even application.
Applying the Paint
When applying paint, start from the top and work your way down. Use even, overlapping strokes to avoid streaks and ensure consistent coverage. For best results, apply two coats of paint, allowing the first coat to dry completely before applying the second.